Welcome to this tutorial! In this guide, we’ll walk you through the steps to back up and restore your data using Microsoft Backup Server. Backup is an essential process to protect your data from loss due to hardware failure, user error, or ransomware attacks. In this tutorial, we’ll show you how to securely back up your data and restore it with Microsoft Backup Server. By following each step carefully, you’ll ensure that your data is well protected
Microsoft Backup Server is a powerful tool designed to safeguard your data. It supports both full and incremental backups and allows you to restore data quickly in case of loss. Before proceeding, ensure your system meets the following requirements
This document explains how to install Microsoft Backup Server using either the GUI or command line.
System Requirements
- Processor: 1.4 GHz 64-bit processor (x64) or higher
- Memory: 4 GB RAM or bigger
- Hard disk: 1GB
Step by Step Microsoft Backup Installation by GUI
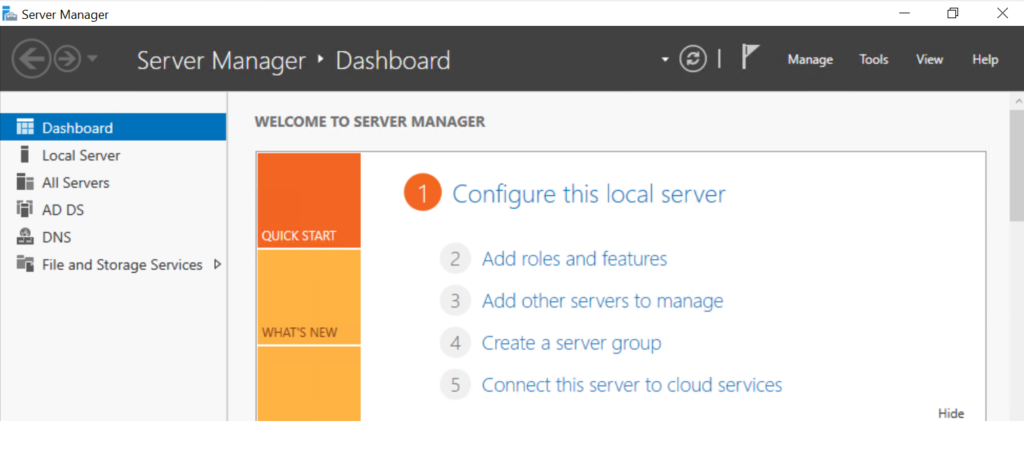
Step 1: Open the Server Manager on your Windows Server machine

Step 2: Click on Add roles and features.
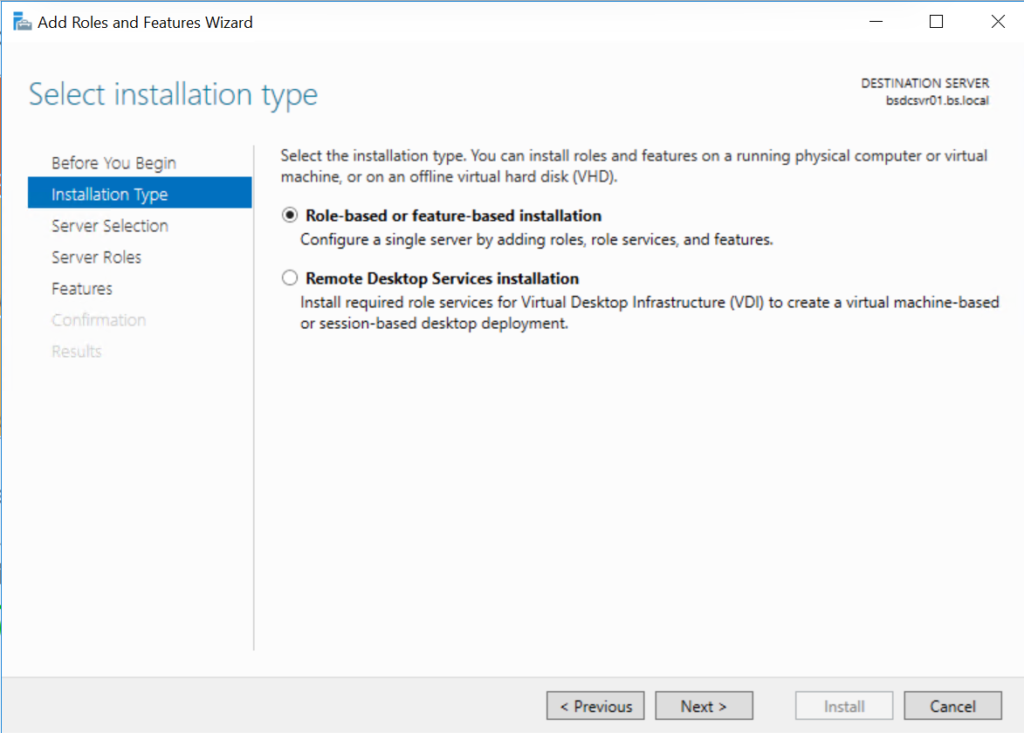
Step 3: In the “Add Roles and Features Wizard”, click Next until you reach the Features section.

Step 4: Under Features, find and select Windows Server Backup. Click Next and then Install.

Step 5: After the installation completes, you may need to restart the server.
Step by Step Microsoft Backup Installation by Command Line
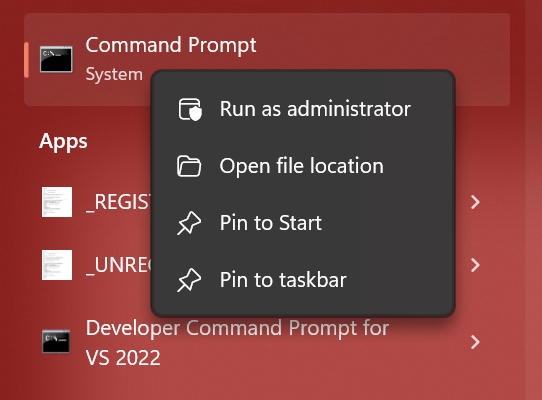
Step 1: Open Command prompt as Administrator

Step 2: Type the command
Install-WindowsFeature Windows-Server-Backup
Step 3: Verify Installation
Get-WindowsFeature Windows-Server-Backup
Step 4: Ensure the backup service is running
Start-Service -Name wbengine
Start-Service -Name wbengine